Posted in Essential Oils, Getting Healthy, Mind, Passing Info On, Recipe

Make Your Own Sleeping Balm And Change Your Days

This world is busy and our brains have a hard time shutting off. I have started using a homemade sleeping balm on my feet and wrists to help me shut it off.

I know you have been there! You want to sleep and your eyes are burning. You climb into bed and can not wait to drift off to sleep. And you get all snuggled in and it seems that your brain didn’t get the memo that the rest of your body did. You think about everything that went on that day. You think about everything you didn’t accomplish that day. You think about conversations you had, what you could have said instead, what was left unsaid. And the thoughts just keep on coming.

Wouldn’t it be great if you could help your brain shut off? Wouldn’t it be great if you could do it and it was natural and not harmful to your body? The good news is there is something and it is natural and you can make it!

When your brain is the clown car and the clowns just keep on coming out. Sometimes, you have to slam the door to stop the madness.

Are you ready to help yourself relax and to shut your brain down naturally? Give a shout out and ask to be added to my inner circle so you can have the recipe!

Posted in Getting Healthy, Recipe

Gluten-Free Sandwich Bread Recipe

Bread is amazing but if you have celiacs or even a sensitivity to gluten, you can feel as if your life is over!

I have a great solution for you. It is a gluten-free sandwich bread recipe that is to die for! It is soft, it is moist, it is amazing.

But it does take some work! Are you up for it? Ask to join my inner circle for the recipe! I am only giving my recipe away in my FB group!

Posted in Education, Getting Healthy, Recipe

What Is Your Favorite Spice To Cook With & Your Favorite Recipe To Use It In?

I am trying to expand the spices I use in my house. I have the typical things I use for everything.

My spice cupboard is 2 shelves full of things. However, most of them are full of things that are not good. A lot of them are mixes that have gluten in them, and I am tossing them in the trash. Plus, Jack can no longer have extra sodium so anything with sodium is tossed.

Help widen my horizons! I typically use garlic powder, AIP Powder (and their seasoned coating mix) and Italian seasoning. Help this mom and wife out!

What is your favorite spice and recipe to use it in! Comment below, I’m desperate.

Posted in Body, Business, Education, Getting Healthy, Passing Info On, Recipe, Video

Debunking Myths, Healthy Recipes and Each Cell Has a Sex. WHAT!

What if all we have been told and believed isn’t true?

Debunking Myths, Healthy Recipes and Each Cell Has a Sex. WHAT!

What are some things you believe about heart health? Do you think the biggest sign of a heart attack is chest pain? Do you think an aspirin a day will keep the doctor away? Do you think sleep apnea only happens in overweight people? 

Hear from a cardiologist who debunks 10 myths about heart health. What typical things have you heard from your doctor that may no longer be true!

Click Image for Recipe
Every cell in your body has a sex. What a thought! So what does this mean for us in regards to medication and how we treat medical issues? Is it going to change the way we live?  Pioneering doctor Paula Johnson describes in this thought-provoking talk, lumping everyone in together means we essentially leave women’s health to chance.
Posted in Business, Education, Getting Healthy, Network Marketing Professional, Passing Info On, Recipe

Movement May Wrap Up

As We Wrap Up May…

Let’s talk about some more ways to get nutrition into your body so that you can maximize the movement you are doing in your day to day life!

Healthy Starts for Healthy Families

We have incorporated the healthy starts for healthy families programinto our daily life. The biggest problem we have in our home, especially with the two youngest children is their love of anything that isn’t healthy. 

When we learned about the healthy starts program, I was willing to try it out. I mean, it was a one year commitment to the worlds largest study on children and nutrition! 

I was desperate and wanted my family to be eating a lot more fruits, veggies and berries. Until this program came into our life, I was not successful at incorporating anything daily into their diets. Well that is unless it was junk!

Now, every day we eat our whole food nutrition from the healthy starts program. My children willingly choose a variety of fruits and veggies. 

Another perk was that because of a donation made in the children’s name (by our sponsor), with our adult purchase, the children eat free for 4 years!

Healthy Starts for Healthy Families was one of the easiest ways for us to incorporate nutrition into our daily life.  

Healthy Starts for Healthy Families Fact
Peanut Butter Chocolate Cookie Smoothie

Here is another quick and easy way to get nutrition in your body! Complete Smoothie! Here is a recipe for Peanut Butter Chocolate Cookie Smoothie!

The Ripple Effect of Nutrition
In this video, Valerie Miles, M.D. talks about the next generation. She addresses how what we eat, what our children eat does to the generations to come!
Posted in Body, Education, Getting Healthy, Passing Info On, Recipe

Water Infusion Ideas

Not everyone is a fan of water. The biggest proof of that in the stores is how many water flavoring enhancers there are. Most of them use fake sugars (which are not good for you) or a lot of real sugar. Then look at all the added in ingredients and who knows what you are actually putting in your body. 

Water Infusion Ideas

The sad thing is that most of them have health claims on them. At least they claim they are healthy because of how we think: no sugar, no calories, no carbohydrates. But that isn’t the only thing that matters when we are consuming them.

I am one of the rare few who do not mind drinking straight water. Put some ice in a cup, put some water in it and drink. But that isn’t everyone. If you are someone who is trying to improve their health and trying to increase their water intake without adding a bunch of unnecessary chemicals here are some great options for you!

Fruits, Berries, Veggies and Herbs are your new best friend! I am not kidding, it will blow your mind when you try this. Here are a few of my favorite ways that I utilize these 3 simple ingredients: 

  1. Create Ice Cubes with Mint: I went to the dollar store and purchased a couple ice cube trays (our fridge has a built in ice maker). In the summer on our TG (urban garden) I grow spearmint and chocolate mint. I just pick a few leaves and then put water in and freeze. After they are frozen I put them in ziplock bags and keep them for putting into my water (and even in my complete shakes; chocolate and mint are to die for in this household). In the winter if I do not have any on TG, our local store now has “Living Gardens”. They are organic little herb plants that come in 1, 2, and 3 root packs. You can do the same thing with those as I do with the ones I have on my TG. 
  2. Create Ice Cubes with Berries: Now what you do here will depend on how intense you want your flavor. I do this two different ways. The first way is really easy. Pick out the berry you want. You can make them all with the same berry or you can put a couple different into one spot. Just put 2-3 depending upon the room, fill with water and freeze. Store in the ziplock bags until you want to use them. Then the intense flavor way. Blend your berry (or berries) up in a blender or immersion blender. Fill each ice cube spot 1/4-1/2 way with your berry mix and then the rest of the way with water. Freeze them and store in a zip lock bag until ready to use. I have even forgotten at times to fill it the rest of the way with water. It still froze and it still tasted amazing. And just like with the full berry you can mix and match any berries you want. 
  3. Infusion Cups/Bottles and Pitchers: These are really easy to use. Pitchers will allow for a more intense flavor because you mix it up the night before and let it soak overnight. It truly infuses with your water and gives you a great flavor. You can also do the same thing with the infusion cups but you are not going to have as much water ready to go in the morning. You can get them at local stores and also from Amazon. Prices vary from $10.00 on up. 
  4. Infusion Pods: This is the same concept as the cups and pitchers but they are not as big. They will fit in a glass or your existing water bottle with a wide mouth. 
  5. Put The Cut Up Fruit, Veggie, Berry or Herb Right In Your Glass: If you are going to be home all day, just cut up what you would like your flavor to be and put it into your glass. Nothing gets easier than this! Your flavor will infuse as you sit there and sip all day long. You can even put it into a bottle you have at home to infuse it if you do not want to buy an infusion pitcher. We have done this with quart mason jars and also a half gallon one. Just put a few of them together with the ring/lid and keep it in the fridge and as I finished one, mix up a new flavor and put the empty jar in the fridge. 

Now that we have talked about how you can add flavor without using the store bought enhancers lets talk about great combinations:

  1. Apple + Cinnamon (use a whole cinnamon stick; this is one for an infusion not in a cup and that sits overnight)
  2. Orange + Vanilla Bean (Slice an orange, with rind. Slice half a vanilla bean down one side, open it and scrape out the “beans”. Place sliced orange, vanilla bean scraps and the shell in your jar of water. Let infuse)
  3. Watermelon + Mint
  4. Watermelon + Basil
  5. Cucumber + Mint
  6. Orange + Blueberry
  7. Raspberry + Blackberry
  8. Strawberry + Lemon
  9. Cucumber + Lemon + Mint + Rosemary
  10. Beetroot + Lemon + Mint
  11. Cucumber + Blueberry + Mint

I do recommend using glass pitchers or stainless steel over plastic. I also do recommend that to get the best flavor you let each infusion sit for at least 4 hours if not overnight. Which is why when we are not drinking straight water, we infuse overnight. 

Do you have a favorite infusion combo for your water? Or did one stick out to you that you want to try? 

Just wanted to make a really quick update! Tonight for dinner we had mashed sweet potatoes with real maple syrup and cinnamon. We emptied the bottle of syrup and so it gave us a new water infusion jar! So Jack David helped make it happen! You can see our photo below!

We reuse things here: Turned a real maple syrup jar into a water infusion jar. Tonight we used blackberries and raspberries!
Posted in Getting Healthy, Healthy, Recipe, Video

Three Ingredient Strawberry Jam

Well all over Facebook you can find people posting videos with recipes. One that I had saved but kept on popping up all over was the three ingredient strawberry jam.

It looked amazing as an end product. It looked pretty easy to make. It didn’t look like it would take a long time; well that is other than the cool down period that requires waiting and patience’s. It was also healthy! I mean seriously – it is just three ingredients and they are not unhealthy ingredients either.

Since our family goes through a ton of nut butters and jelly and jam I thought it would be the perfect recipe to try. And I wasn’t only going to try it, I was going to double it because if it was good, it would not last in this house. So I was going all in! If I could make a jam that is healthy, easy, and quick I would be over the moon.

The original recipe came from: The Busy Baker

Keep in mind that when you watch my video all the ingredients you see we doubled per the first recipe:

Three Ingredient Strawberry Jam

  • 2 lbs Fresh Strawberries
  • 1/2 Cup Raw Honey (you can lesson by 2 tablespoons if you have ripened to perfection strawberries)
  • 1/4 Cup Chia Seeds
  • Jars For Storing

Instructions:

  • Clean, hull and slice strawberries
  • Put strawberries into warmed saucepan (medium heat)
  • Add honey to saucepan
  • When strawberries start to soften stir them in the juice and honey
  • As the berries start to fall apart break them apart even more with a potato masher
  • Stirring continually let the berries and honey come to a slow boil
  • When you have big bubbles you will add the chia seeds
  • Chia seeds will help the jam become the jam.
  • Stir continually (low heat) for 15 minutes
  • Remove from stove

Now if you like chunks of fruit in your jam you can put it into your jars and then in the refrigerator. But if you are like 99% of my family and like smooth with no chunks you are going to want to do the next step before you put it into the jars.

  • Put your jam into the blender and pulse it a few times
  • Poor the jam into your jars
  • Put cover on
  • Put it in the fridge

Now Chrissie (The Busy Baker) talks about how it is not jam like when it is hot. That was very true – it was more like soup! However a few hours in the fridge and it was all good to go.

I will make the recommendation that if you want to be able to enjoy it sooner, you a few smaller jars instead of one big jar. I had put our families in a large jar and a gift for a friend in a smaller jar. The smaller jar was cooled and ready to eat much faster than ours. So we were tormented with waiting for ours to cool down.

A couple other notes: there are no preservatives so this must be kept in the fridge and it will last about 2 weeks. Unless your household is like mine then you don’t need to worry about when you made it because it will be gone before the two weeks are up!

Want a more in-depth instruction? Head over to The Busy Baker  site!


Posted in Body, Education, Getting Healthy, Passing Info On, Recipe, Work From Home

Essential Oil Diffuser Recipes

I found both of these pages online. I wish I knew who they came from because I have been using them a lot and have been very happy with them.

Motivational Diffuser Blends.  #thinkonechangeI have not been the most motivated person lately. It seems there are just certain points I hit that struggle to keep on going. I know part of this is going on because of a low vitamin D and being anemic.

Still I got online and did some searching. While I love to create my own diffuser and roller bottle blends, I just wanted some that were tried and true.

So I found this sheet of Motivational Diffuser Blends online. I have used a lot of them. I don’t think there was a single oil listed on the sheet that I did not have.

I have used all of them at some point over the past couple of weeks. I am however particularly fond of the ones that have lime in them. I just love the smell of lime. It is so invigorating in itself!

Diffuser Blends for Relaxation and Rest.  #thinkonechange

I have also been using blends to help with relaxation and rest. I am tired but I struggle with getting to sleep and at times even staying asleep. So I have been playing with these blends for the night time.

Each and ever person is different. While some might work fabulous for one, it may not be the best option for someone else. So play around with what helps you sleep the best for yourself.

One of my favorite oils to use at night is Stress Away. There is just something so relaxing and comforting to me about that essential oil. One of my favorite things to do with it – put it on my wrists just before I go to sleep. Without even realizing it I tend to put my wrists up by my face and then inhale it even more.

How long to nap?  #thinkonechangeAlso have you ever wondered what is the right amount of time to actually take a nap? I do not nap often, I am thinking I might be better served if I did from time to time. Still here is a great little clip that explains the best amount of time to nap for certain situations!

I know when I do take a nap, often I end up sleeping much longer than I need or wanted to. Then I get up feeling worse than when I first laid down. So I should probably print this out and keep it next to my bed for reference!

I hope you have all had a great week and have a great weekend!

Posted in Education, Getting Healthy, Memories, Recipe, Work From Home, Young Living Essential Oils

DIY Essential Oil Perfume

One of the ways that my Bella and I like to use our essential oils daily is with our DIY perfume. I personally have never been a very floral oriented person. Even when I was younger and did purchase (toxic) perfumes from the stores I didn’t go with florals. I always looked for the vanilla scents (does Victoria Secrets still make their vanilla perfume?). 

I still am not a floral person and I avoid walking through malls and department stores as much as I can. Smelling all of the perfumes and scents that are floating around in there, instant headache. I am sure I am not alone when it comes to that problem. There is no way to know what toxic chemicals you are actually breathing in. When you rid your home of your body of toxic things as much as possible, you start to react to those things much faster.

So Bella and I now make our own non-toxic, essential oil perfumes. She can make hers as florally as she wants and guess what? Even though I am still not 100 perfect a fan, it doesn’t give me an instant headache. It doesn’t make me want to through it out the window. It doesn’t make me freak out and tell them to get rid of it. She is quiet pleased with making her own perfumes, naming her own perfumes and using her own perfumes. 

I am sure when you think of making your own perfume you probably think how in the world do you know what to do, what to use, how much, is there a trick, tip or do I just wing it? In the beginning we just winged it. I do not suggest that you do that, unless you are an aromatherapy scent expert and you have a pretty good idea what would smell good together and why it would smell good together. 

We have a lot of extra bottles in our home. We have talked about one of our favorite things to do with them in the past (scented Epsom salts for the bath). This is now ranking up there, if not surpassing our joy of making bath salts! We use our empty 5 ml bottles to make the essential oil perfumes. 

Now back to what makes a good perfume if you are going to make them yourself. Essential oils all have notes; also known as scent characteristics. There are top, middle and base notes. Basic explanation goes like this: first you will smell the quick-evaporating top notes, then the heart of the perfume, which are the middle notes and finally you will smell the base notes which complement the top and middle notes.
Here is a more detailed description of the different notes: 

  • Top Notes: Essential oils that are classified as top notes normally evaporate very fast and typically have anti-viral properties. They tend to be light, fresh and uplifting in nature and are usually inexpensive. Top notes are highly volatile, fast acting, and give the first impression of the blend. However, they are not very long lasting.
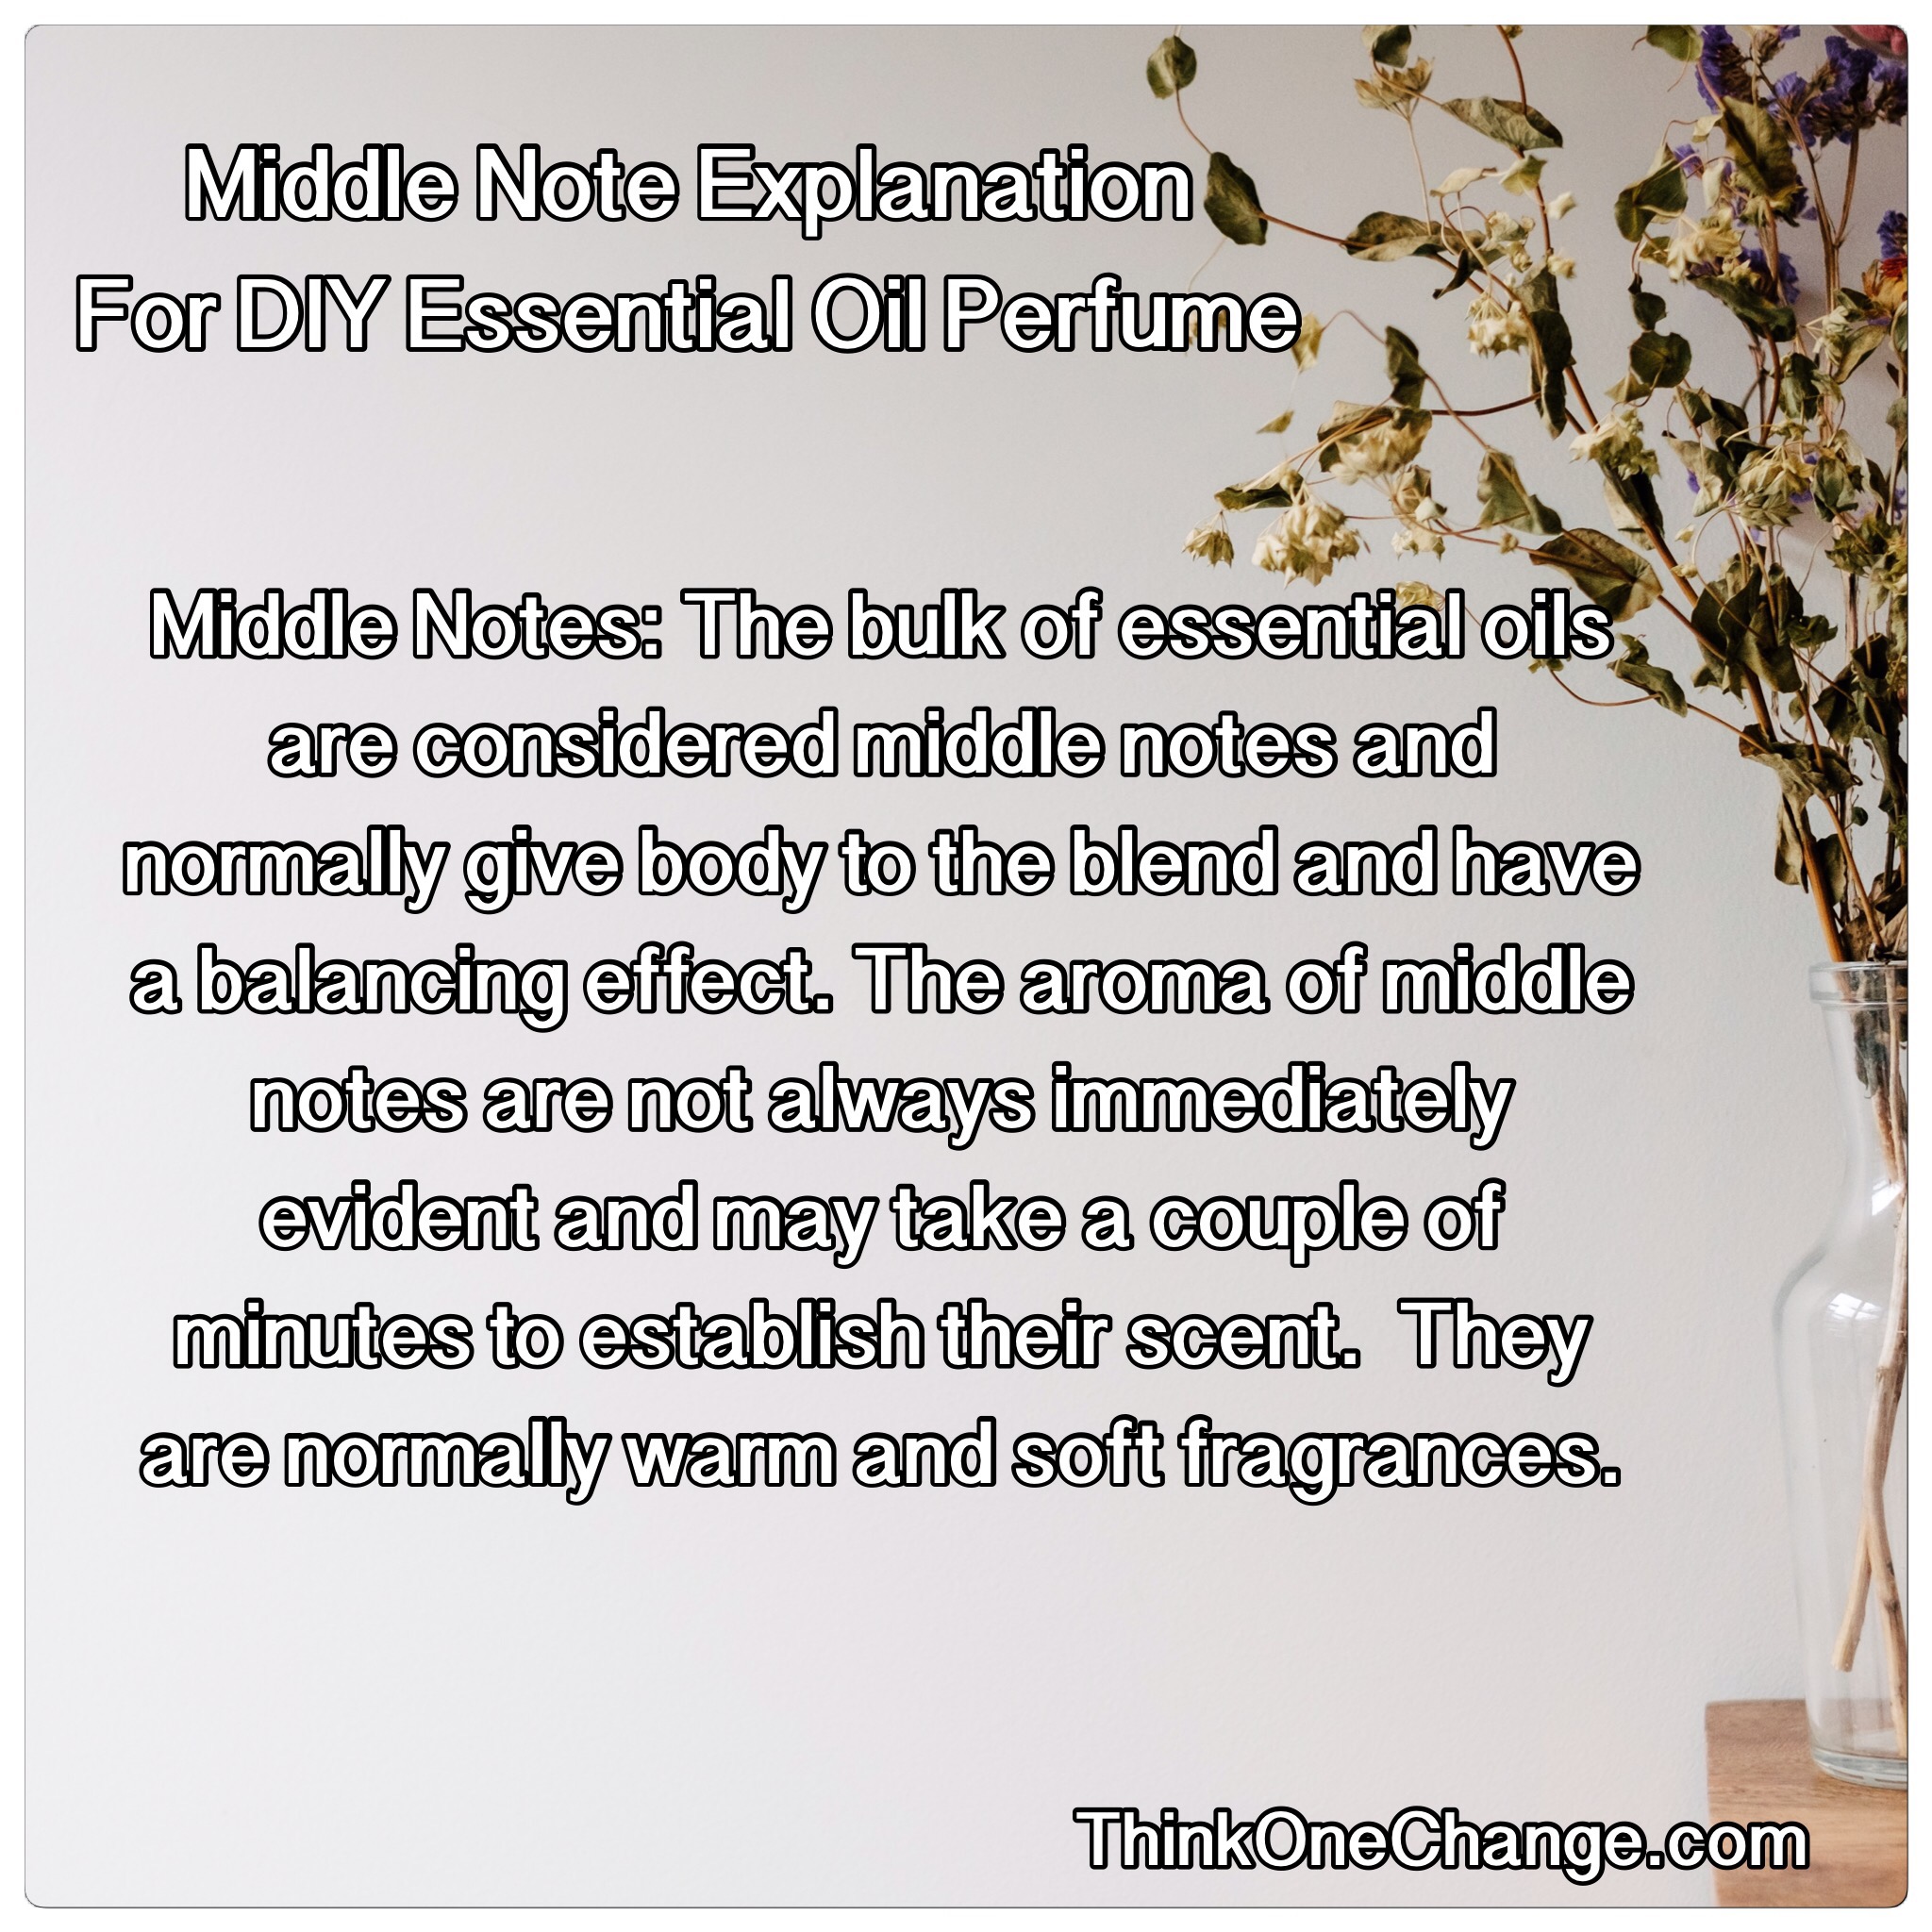
  • Middle Notes: The bulk of essential oils are considered middle notes and normally give body to the blend and have a balancing effect. The aroma of middle notes are not always immediately evident and may take a couple of minutes to establish their scent. They are normally warm and soft fragrances.
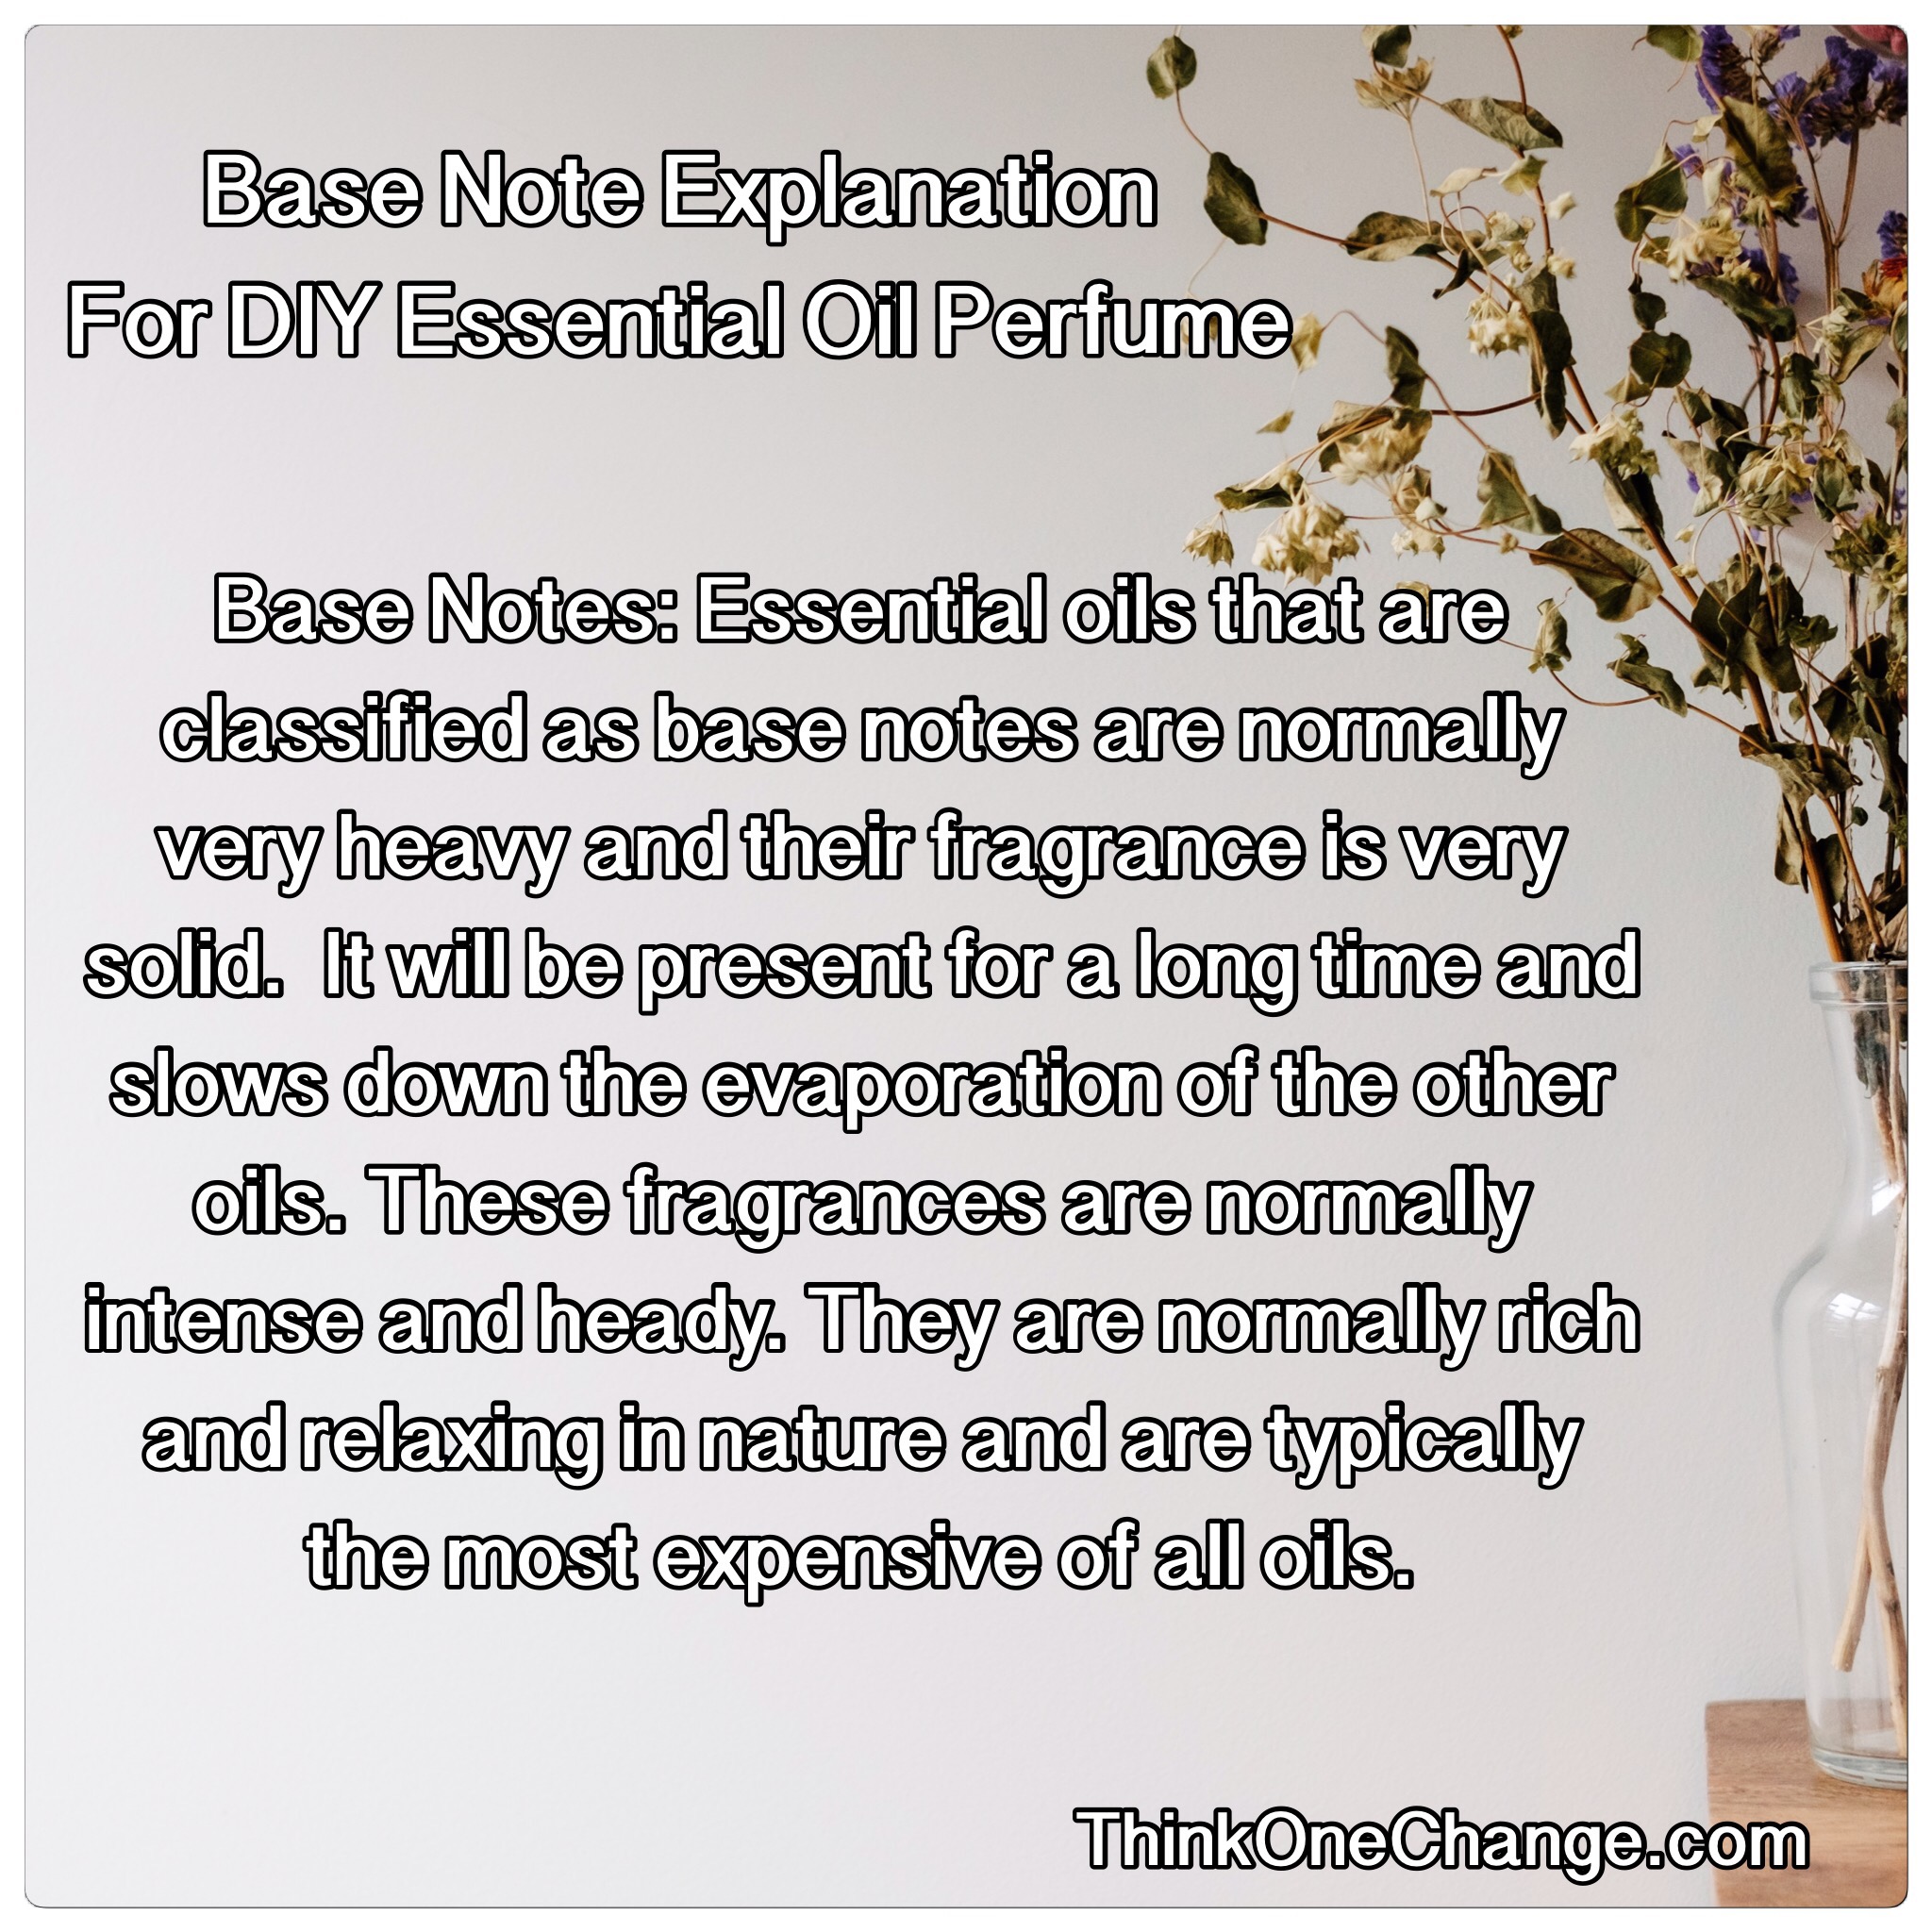
  • Base Notes: Essential oils that are classified as base notes are normally very heavy and their fragrance is very solid. It will be present for a long time and slows down the evaporation of the other oils. These fragrances are normally intense and heady. They are normally rich and relaxing in nature and are typically the most expensive of all oils.

So now that you have a general idea of what each essential oil does when it comes to a DIY perfume let’s talk about what you will actually need. There isn’t a lot really. I suggest making sure you have a selection of each kind of essential oil. I also suggest if you haven’t smelled them before, take some time and get to know them and their scent. I know that when you mix them it changes how they smell. Plus when you add them to your body it changes it as well, however if you are putting a custom scent on yourself, you want to like all of the smells.
You also are going to need a 5 ml empty essential oil bottle. You are going to want a carrier oil (any would work but I would pick one that you like, are not allergic to and that is not heavy). If you want to be able to roll it on easily then a roller cover and cap would be ideal. Then you can shake, open and put on your wrists, neck, behind the ears and any place else you would like your custom perfume smell to be. You are also going to want labels and some clear tape. That way you can name your perfume, put it on your bottle and prevent it from smearing off or falling off. After you have put the label on your bottle put the tape over and around the label! We used to do that for the old labels but thankfully don’t need to do that anymore. However if you are struggling for a visual you can head over here to see what we are talking about!

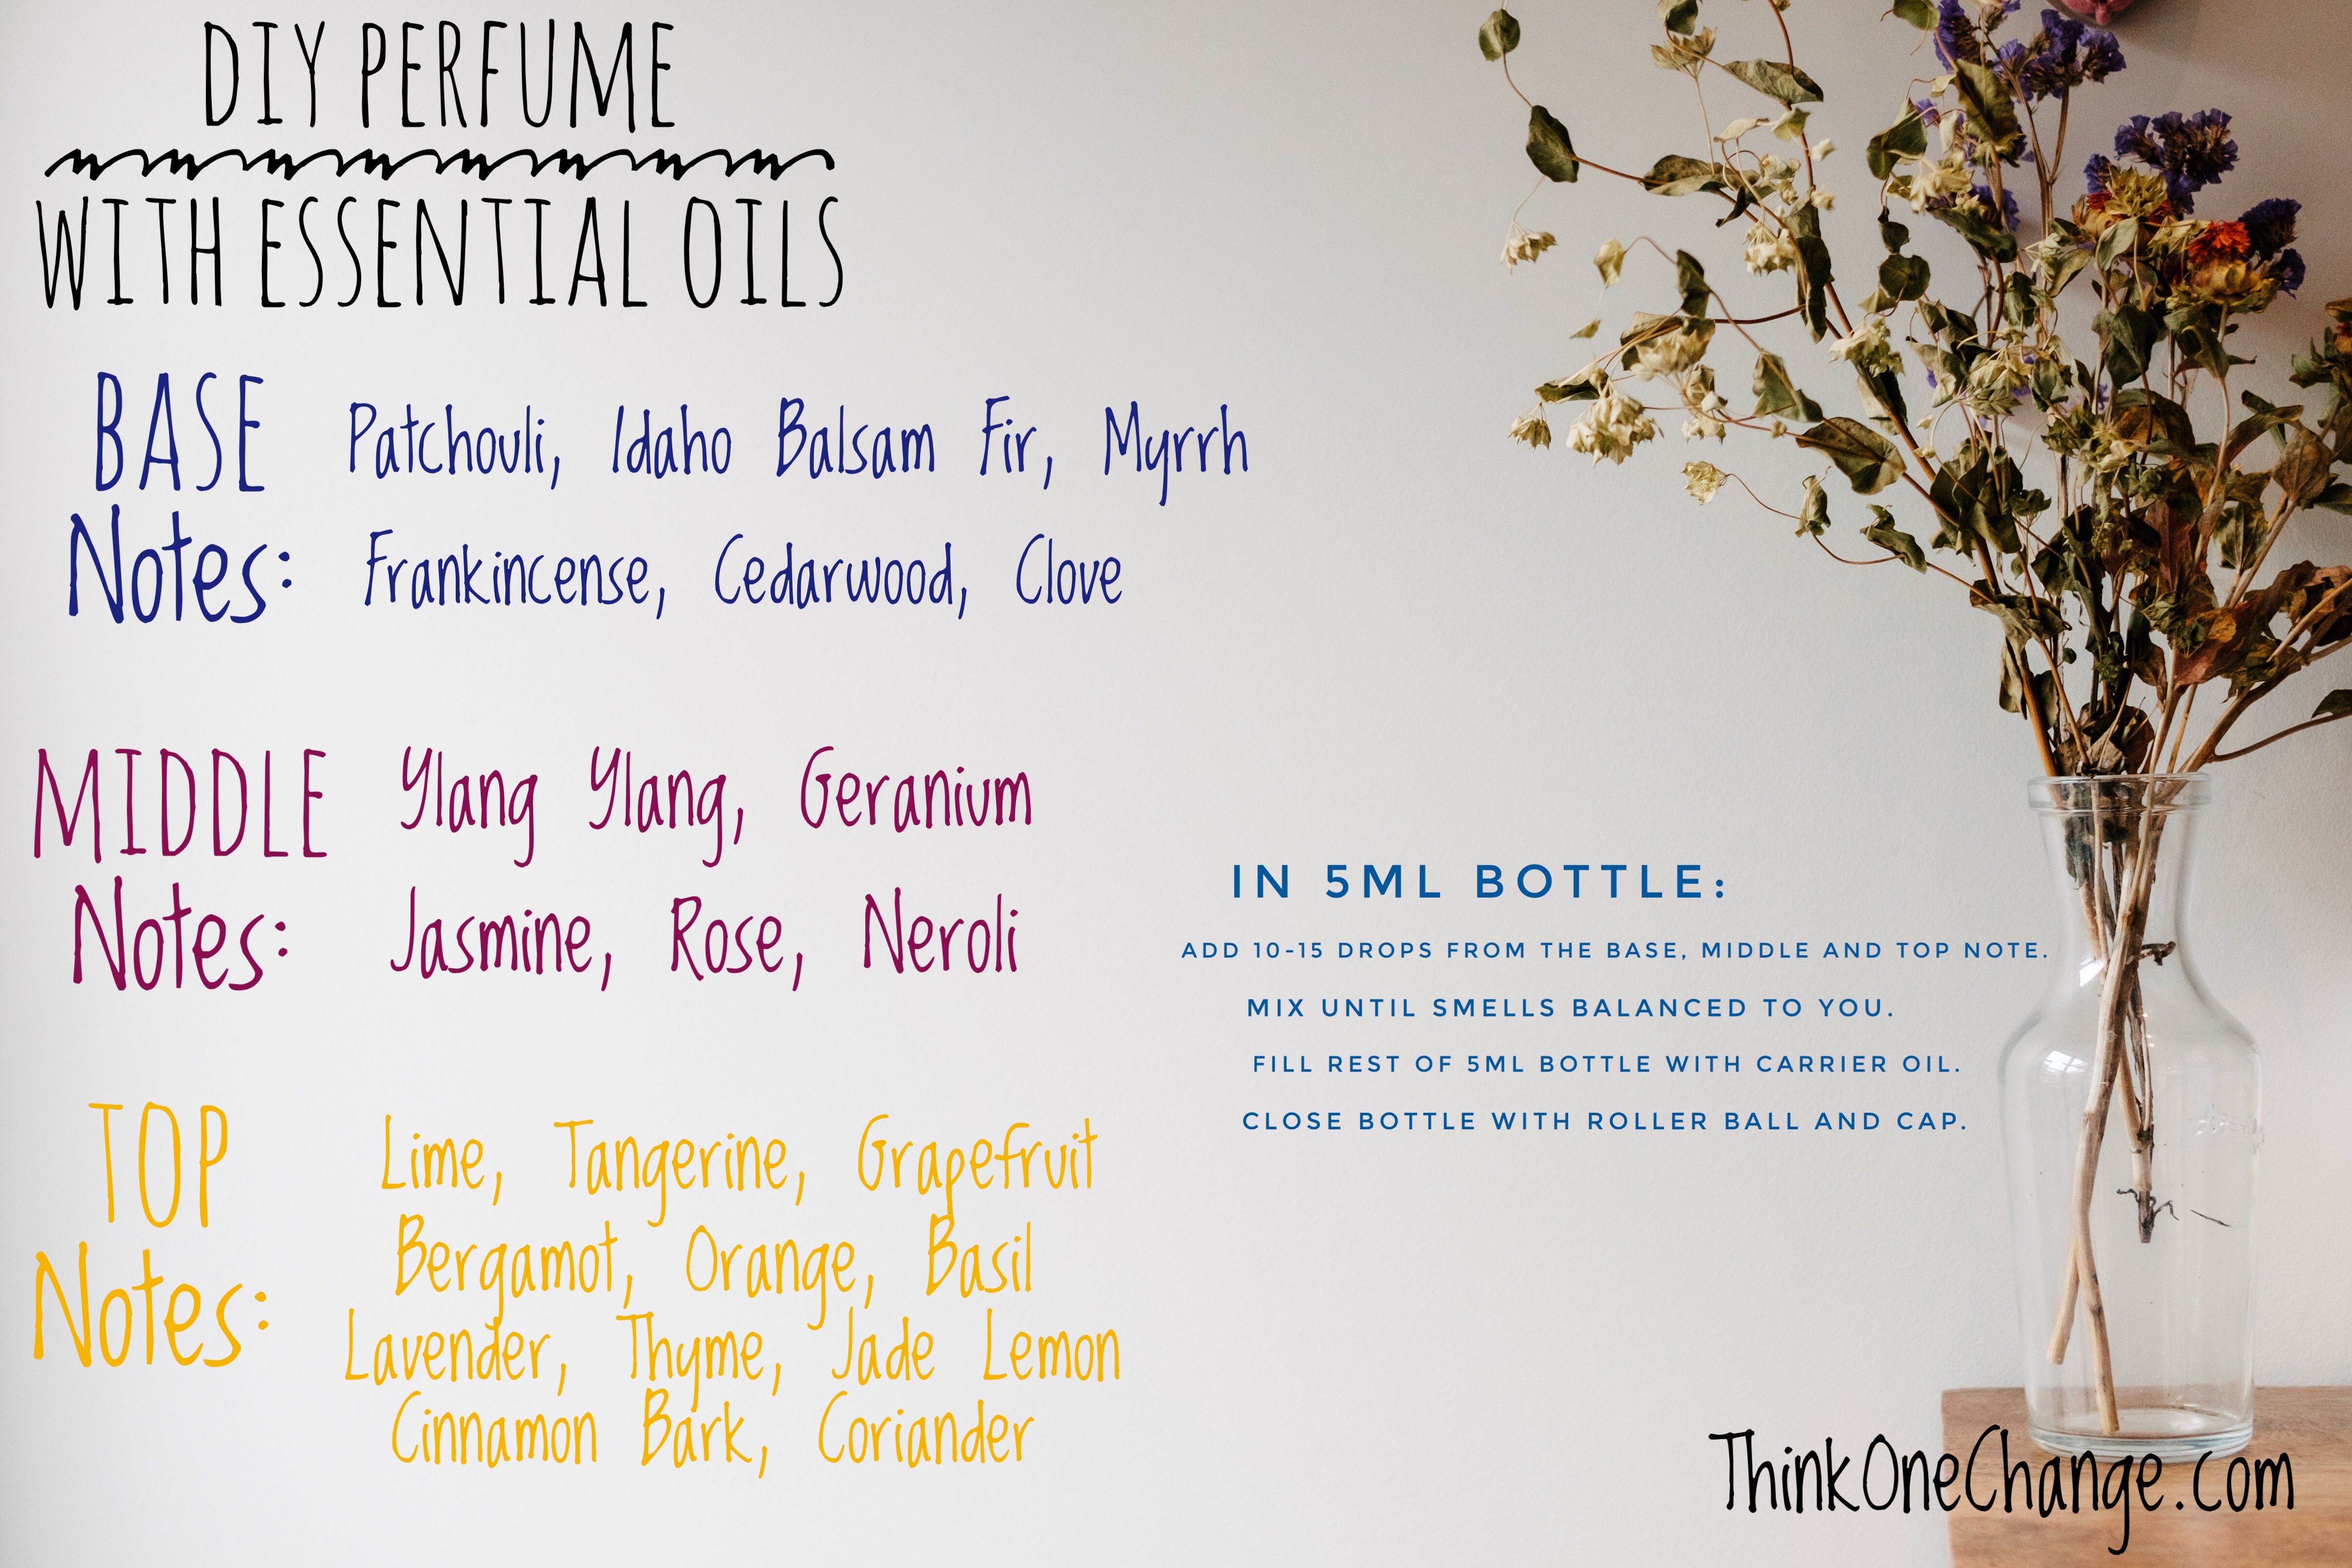
Now this is not a complete list of the top, middle and base notes but it is some of mine and Bella’s favorite to mix and make our own perfumes. If you do not see anything on there you think you would like, if you do a little research there are a lot of lists out there. We have not made any new perfumes in a while now. Bella goes crazy when we pull everything out do make these. She usually makes enough to last a couple months. We are about to the point where we will be making new ones!
Have you taken the time to make your own perfumes with essential oils? What are some of your favorite combinations? Did it smell how you had hoped or do you need to do a little tweaking to it still? Would love to hear from you!
Posted in Getting Healthy, Recipe, Work From Home, Young Living Essential Oils

Spring Is In The Air

Freshen House BlendWe are spring cleaning the house and along with the cleaning of the house comes new essential oils in the diffuser.

We take time to get the stale, winter air out of the house.

We take the time to get the stale thoughts and cobwebs out of our mind.

Spring Clean Your MindWe take time to smell and enjoy a forest just waking up from the winter snow.

We take the time to smell the flowers before they have actually peaked out of the cold, frozen ground.

We clear the cobwebs from the corners of the rooms in the house. We start to clean out the garage to get all the fun toys out for the spring and summer. Warm weather means outdoor play! We are very excited about that this year. We start to pull out the warm weather clothes and start putting away the bulky winter clothes.

I know it is only the second official day of spring. I know that where I live, the likelihood that snow will still visit us is high. I know that I can’t sit out on my porch with coffee in hand in the mornings yet unless i want to be bundled up.

Still we are starting to pull out our spring time diffuser recipe blends. They wake you up. They make you feel like you can already open your windows and enjoy the fabulous spring air.

It isn’t to early to get started with enjoying spring. Maybe one of these recipes will motivate you and get you just as excited for the warm weather as we are in this house!

Do you have a favorite spring time essential oil recipe for your diffuser? Would love to hear about it in the comments below!
Spring Time ForestSpring Time Garden